
Nozares jaunumi
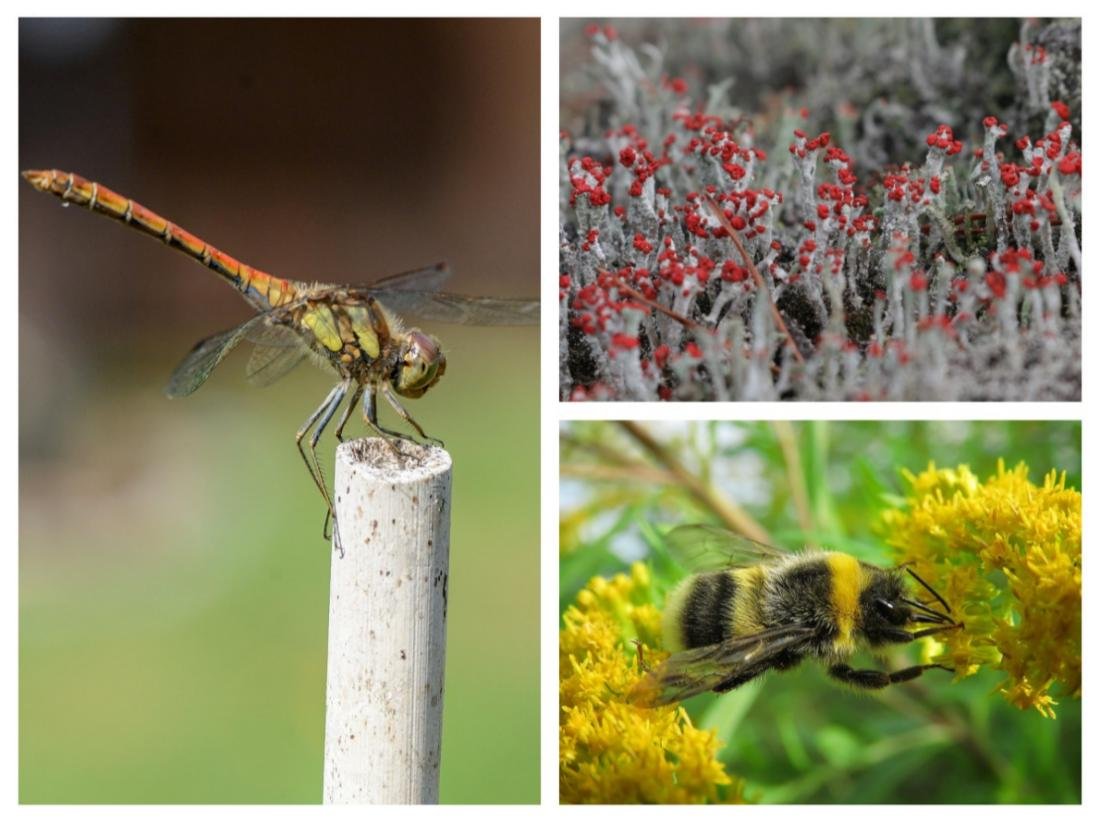
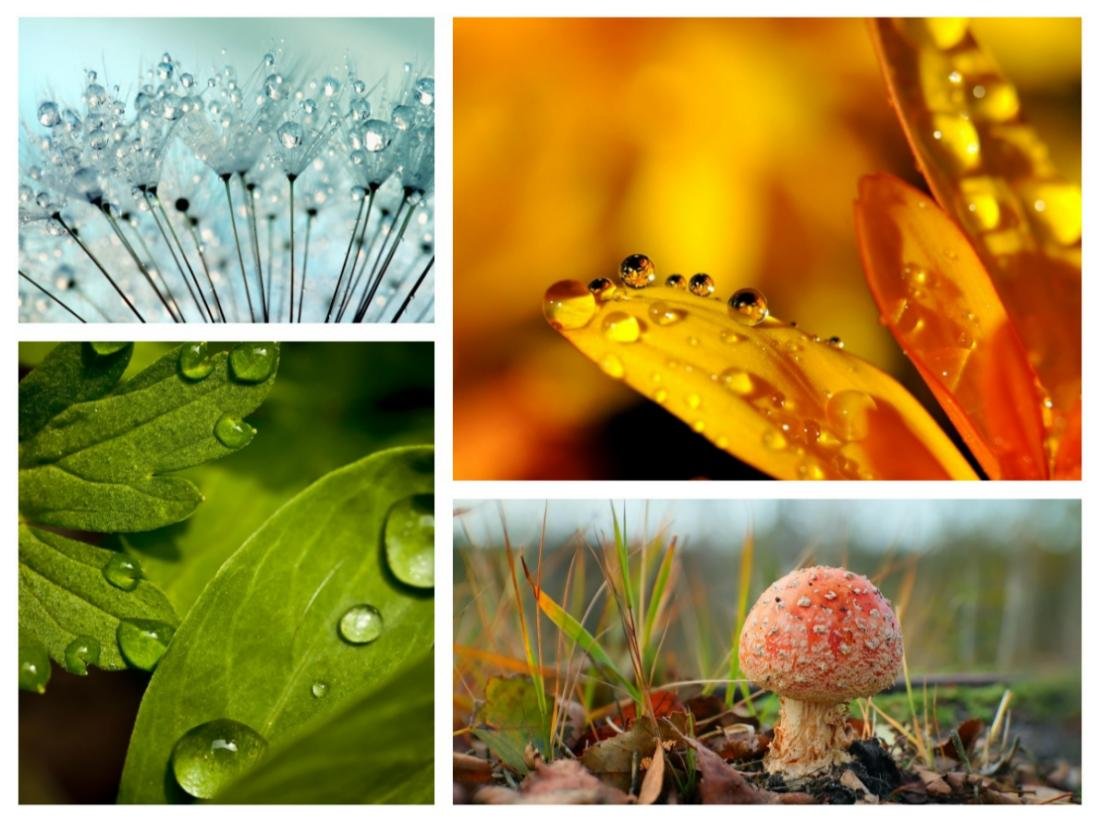
Photography Sharing: Best Camera Settings For Macro Photography
Wouldn’t it be great if you could have perfect settings every time you go out to shoot, allowing you to get predictable, beautiful macro shots? Unfortunately, a perfect “one-size-fits-all” setting doesn’t exist. However, you can significantly increase your success rate by configuring some basic settings on your camera before you head out. Preset settings can save you time and help you capture sharper, more accurately exposed macro images. The camera settings for macro photography discussed in this article are applicable to any camera system.
1.Basic camera settings for macro photography
Simply put, a good photograph should have proper exposure and keep the subject in focus. To help you understand the correct shooting techniques, let’s look at shooting modes, flash usage, aperture, shutter speed, and ISO.
(1)Shooting mode
Interchangeable lens cameras typically offer a variety of shooting modes to choose from. Many photographers prefer to shoot in manual mode. If you’re not yet comfortable with manual mode, you can use aperture priority mode. Manual mode allows you to have complete control over exposure based on changing situations and needs.
Aperture priority mode is very useful because it maintains your preferred aperture while automatically adjusting other exposure settings. For macro photography, controlling the depth of field is crucial. If you let the camera decide the aperture itself (for example, using shutter priority mode), you might end up with out-of-focus shots due to a large aperture.

(2)Flash lamp
If you haven’t considered using a flash in macro photography yet, now is the time to start. When you try shooting macro photos with a flash for the first time, aim the lens, press the shutter button, and then review the photos. You’ll find that your worries about camera shake, motion blur, and insufficient light begin to disappear.
Almost all hot shoe mounted flash units can be used for macro photography. When starting out, simply set the flash to TTL (“Through the Lens”) mode. TTL will adjust the flash power to determine the appropriate power for a balanced shooting effect.
For maximum control, you can manually manage the flash power, starting at around 1/8 power and then adjusting up or down as needed. If you notice harsh highlights or deep shadows from the flash, simply add a diffuser between the subject and the light source.
You can also learn how to choose continuous LED lights for macro photography.
(3)Diafragma
Most people know that a large aperture (low f-number) allows more light in, reduces depth of field, and produces a soft background. Conversely, a small aperture (high f-number) restricts light, increases depth of field, and brings more background elements into sharp focus.
What some people forget is that working distance also has a significant impact on depth of field. As the distance between the subject and the sensor decreases, the depth of field decreases rapidly. Because macro photographs are taken at extremely close distances, the aperture size should be quite small.
Set the camera’s baseline aperture to F8.0, and generally keep it between F7.1 and F10. This range provides good light transmission and sharp, clear images. A larger aperture will limit the depth of field, while a smaller aperture is prone to diffraction (resulting in reduced sharpness). For example, using a 4/3 sensor as a baseline, if your camera sensor is larger than this, be sure to reduce the aperture accordingly to ensure your photos have sufficient depth of field.

(4)Shutter speed
Another advantage of using a flash is that you don’t have to worry too much about shutter speed. The flash increases the amount of light on the subject, which helps to freeze motion. Therefore, you can use a relatively low shutter speed, usually between 1/50th of a second and 1/250th of a second. For beginners, it is recommended to set the shutter speed to 1/100 second.
(5)ISO
The ISO value determines the sensitivity to light. Lower ISO values are less sensitive to light, resulting in less noise compared to higher ISO values. With this in mind, it’s recommended to keep the ISO as low as possible and use flash as supplementary lighting, but be careful not to use excessive flash power.
If the flash power exceeds half of its maximum, it may be too strong and result in an unnatural-looking image. If half the power is not enough, you can increase the ISO level to enhance the output brightness.
You should also check if the camera manufacturer provides a recommended baseline ISO value. For example, a camera might have a base ISO of 200. Therefore, shooting at an ISO of 200 (or close to 200) will produce the sharpest images with the least noise. If you choose to shoot without a flash, you will need to further increase the ISO and use a faster shutter speed.

2.Key focus
People often ask whether to use autofocus or manual focus in macro photography, and the truth is, both are useful. It’s recommended to establish a quick way to switch between focusing modes. If your lens has a dedicated button or clutch, use it. If your camera supports custom function button programming, you can use a button to switch between manual and autofocus.
Enabling back-button focusing is a good way to prevent the shutter button from refocusing when you need to take a shot. Regardless of which method you choose, being able to quickly select the appropriate focus mode will help you achieve precise focus and capture fleeting moments.
(1)Autofocus
Modern autofocus (AF) technology is truly amazing. Most cameras have a wide range of autofocus options and focus points. Autofocus is fast, accurate, and incredibly helpful for macro photography. It’s essential when your subject can’t remain still. Using autofocus to find your subject in the viewfinder can be disorienting when the view is magnified.
Since it’s easier to find the subject at lower magnification, you can gently tap the focus button while moving towards the subject. This helps keep the subject in the frame. Once the composition is complete, you can switch to manual focus mode.
(2)Manual focus
Manual focus (MF) provides the ultimate precision in focusing and ensures consistent magnification with every shot. You can let autofocus (AF) handle the approximate focusing. However, unless your subject is moving, do not shoot immediately. First, gently rock the lens back and forth to find the ideal focus; this method is simpler and more reliable than rotating the focusing ring on the lens barrel. Once you see the subject clearly in focus, press the shutter button to take the picture.
(3)Focusing tools
In macro photography, there are several useful features that can help ensure critical focus when taking photos, such as focus assist magnification. This feature essentially magnifies the view so you can more closely observe the in-focus (and out-of-focus) areas. Alternatively, your camera might have a focus peaking function.
Focus peaking draws attention to the in-focus areas by highlighting them with color. Instead of relying on areas that appear to be in focus, focus peaking identifies the areas that are actually in focus.
When photographing tiny, moving objects, achieving perfect focus is not easy, but you can definitely do it if you combine the techniques above! Take your time, get close to your surroundings for stability, and don’t get discouraged even if the focus isn’t perfect. Be selective when focusing; don’t just focus on the eyes, but rather on the front plane of the eyes. In macro photography, every detail matters.
3.Other macro settings and tips
Once you’ve mastered the basics of flash operation and are familiar with proper exposure settings, you might want to find some tricks to take your macro photography to the next level.
(1)Shoot in RAW format
Although the in-camera JPG compression is better than ever, shooting in RAW format still allows you the greatest flexibility in manipulating highlights and shadows during post-processing. RAW files can be a lifesaver when your camera captures slightly underexposed or overexposed images. If you prefer a more stylized look, shooting in RAW format gives you more creative control, allowing you to make your work truly unique.
(2)White balance
Many people like automatic white balance. It often produces natural-looking results and can be easily adjusted in post-processing. If you prefer a slightly warmer or cooler tone, you can preset the white balance accordingly. Remember, lower values represent warmer tones, and higher values represent cooler tones.
(3)Keep quiet
A stable camera is crucial for taking sharp and clear macro photographs. Camera body and/or lens stabilization features are excellent aids. Some people go a step further and use a monopod or tripod. Both are effective, but when shooting in the field, many prefer to be as unconstrained as possible.
If you choose to shoot handheld, try to relax your body to keep the camera steady when releasing the shutter. You can also look for branches or rocks nearby that you can use for support, or if you’re on the ground, you can use your elbows for support. To maximize stability, you can take a deep breath, hold it for a few seconds, exhale slowly, and then gently press the shutter button.

(4)Save your settings
Many cameras offer custom user modes, making it easy to save your settings for macro photography. If your camera has this feature, be sure to take advantage of it! It not only saves basic exposure settings, but some models also support customizable buttons and controls, allowing you to create a shooting experience that perfectly suits your needs.